How to Dig a Volleyball with Control (10-Step Guide)
The volleyball dig is one of those splashy plays that gets teammates and fans excited.
As your opponent spikes the ball, they’re full of excitement for the ball to hit the floor. And often the only way to keep the point alive is to dig it back up and into play.
Simply being able to dig the ball up is one thing…
But being able to do so effectively is the key to enabling your team to run its best offensive sets.
This step-by-step guide will walk you through the keys to consistent, quality, and controlled digs.
Step #1 – Know Your Opponent
Being aware of what your opponent tends to do on the attack will allow you to be in the best position to dig the volleyball.
Warm-ups provide an opportunity to study how your opponent approaches a swing and where they prefer to hit the ball when comfortable.
Gain an advantage by studying your opponent during the hitting portion of warm-ups and continue to learn throughout the match.
Step #2 – Learn, But Don’t Commit
Great hitters can usually disguise their approaches to deceive defensive players…
But most hitters still give away their target with the position of their shoulders before hitting.
As a hitter begins the spiking motion, their shoulders will typically be aligned towards the intended target.
Use this advantage to lean towards the spot you suspect the ball is headed.
However, don’t fully commit to this being the result, as the ball may head in a different direction.
Step #3 – Be Ready for Anything
The key to being a successful volleyball player is always being prepared for anything to happen.
Volleyball is an unpredictable sport as the ball “should” be headed one direction, but could end up heading somewhere completely different.
A good defender is alert and prepared to dig balls, even if there is minimal chance the ball is heading towards them.
Always be ready to dig when on defense.

Step #4 – Keep Your Weight Forward
Volleyball requires constant change of direction and sudden movements.
It’s important to always be in an athletic position, especially when on defense.
Step #5 – Get Low
Now that you’re prepared positionally to execute a successful dig, you must get your body ready to get the ball back up in the air.
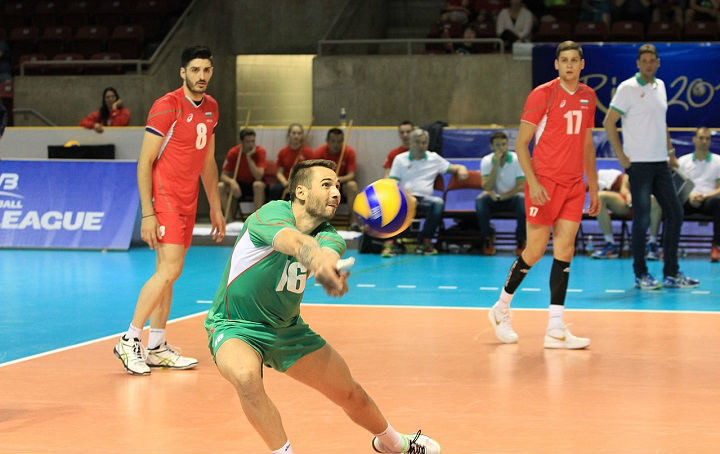
The ready position for a good volleyball dig is low.
You should be almost in a seated position, with your body slight bent forward.
You should feel athletic and have your feet outside your shoulders with your weight forward on your toes.
Remember, it’s far easier to go from low to high than from high to low in the heat of the moment.
Step #6 – Arms Ready
Once you arrive in your spot and get your body low, it’s time to prepare your arms.
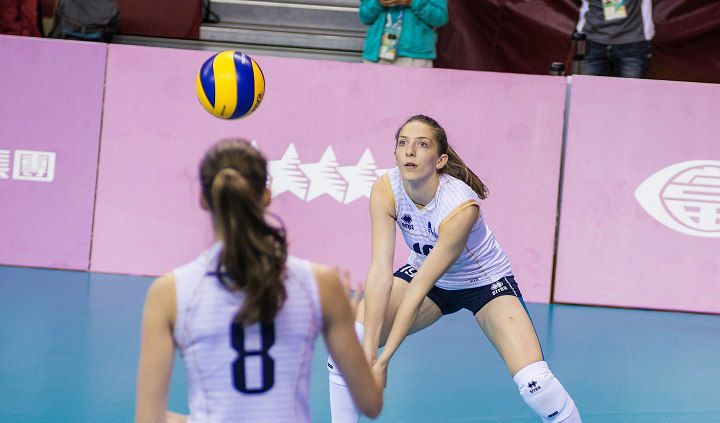
Create your typical platform with your hands and arms like you would a normal pass.
However, as you bend forward, your hands should drop towards the floor with your platform at a 45-degree angle to the floor.
If your platform is too parallel to the floor, a hard-hit ball will end up popping into your face or back over your head the wrong direction.
Step #7 – Adjust to the Ball
Unfortunately, our best positioning often finds us just a little off from where the ball ends up.
Now that you are in your athletic position, it can be tempting to lunge or dive unnecessarily.
Use your feet to adjust whenever possible, as a lunging or diving dig is far less accurate than one executed while upright.
An accurate dig is the best dig, so stay up unless you absolutely must dive to reach the ball.
Step #8 – Aim for the Setter
Many volleyball players executing a dig simply attempt to get the ball up in the air.
Great volleyball players dig with the intent of getting the ball to the setter, so the team can transition and run a quality play.
As you’re adjusting to the ball, ensure you having positioned your body to pass to the setter.
It’s recommended to aim to pass a little short of the setter to ensure you do not put the ball back over the net.
Step #9 – Absorb the Ball
The dig requires no arm swing on the part of the defender.
The spike itself should create enough force to get the ball back to the setter.
In fact, you may need to “soften” your arms by bringing your elbows in toward your midsection to absorb some of the energy of a hard-hit ball.
This will prevent you from putting the ball back over the net.
Step #10 – Reset
One of the most important parts of a good dig is resetting to do it again after you have completed the process.
In volleyball, there’s no time to admire a good play until the ball has hit the floor.
Once the dig is up and headed toward your teammates, ideally the setter, it is time to return to your athletic position to get ready to repeat the process.

Emergency Digs
While a controlled dig with the intent of transitioning to a quality offensive play is ideal, there are instances when that’s not possible.
At the end of the day, the absolute necessity is to keep the ball in play.
For these moments, there are several variations on the standard digging motion that will allow you to keep the ball in play (even if it’s not pretty).
a. The Forward Dive
The dive is a small variation on your typical dig.
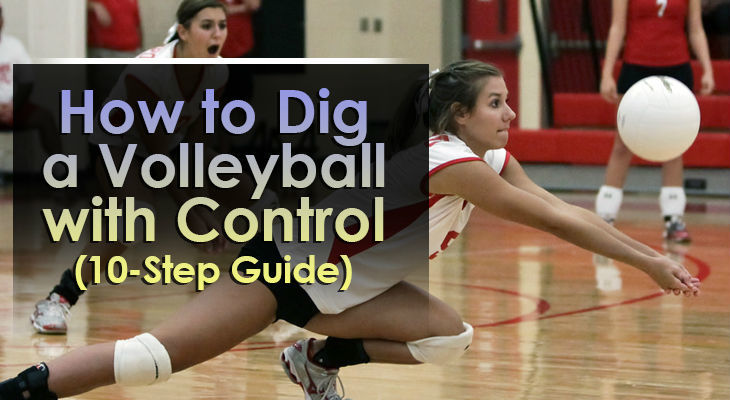
Essentially, you maintain the steps included above but add a forward lunge to get the ball to contact your platform.
The dive allows you to reach a ball slightly short of where you anticipated it would go, while maintaining some sense of control.
Once you have completed the forward dive, you can either stand or roll to one side to recover your athletic, ready position.
b. The Sprawl
The sprawl movement is similar to a dive, however it’s directed to one side or the other.
If you’re unable to move your feet to get to a ball beside you, then this is your best option.
The key to a good sprawling dig is to dip your inside shoulder to allow your platform to aim at your target. This creates an angle that gets the ball up into the air while maintaining a solid platform.
A sprawl dig is typically followed by the playing rolling in the direction of the dive, to return to an athletic, ready position.
c. The Pancake
Admittedly, the pancake dig is a real crowd pleaser.
This involves the ball looking like it is about the hit the floor and then suddenly someone slides in to save the day.
The execution of the pancake is rare, but possible.
As the ball is headed toward the floor, the defensive player lays out in an all-out dive and slides a hand flat on the floor.
If the ball contacts the back of the flattened hand or forearm, it will pop directly up in the air and allow a teammate to recover the play.
d. The Overhead Dig
When discussing digs, most would think of a ball hit down toward the floor or sand.
However, it’s possible to have to dig a hard-hit ball above your waist or shoulders as well.
The overhead dig utilizes the same hand placement as a set but with far more rigid fingers and wrists.
It’s difficult to “guide” an overhead dig, so your body should be angled toward your target when digging a high, hard-hit ball.
Conclusion
A quality dig is a challenging play to execute against great hitters.
However, by following the step by step guide above, you can not only keep the ball in play, but give your setter a good pass to work with.
It’s important to simply keep well-hit balls alive…
But the great teams are able to turn a well-driven spike into a quality offensive set.

